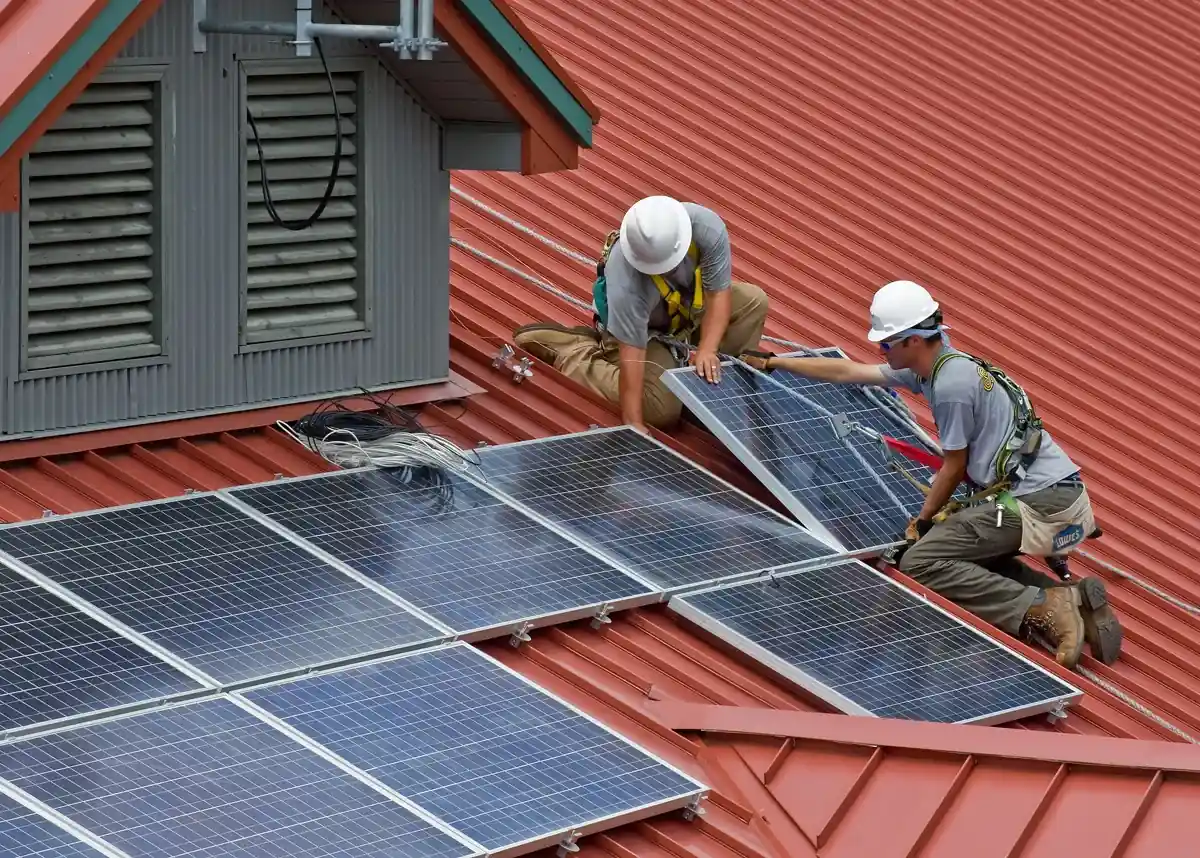
Installing solar panels cuts your utility bills and reduces your carbon footprint. However, proper cabling is crucial for safety, efficiency, and getting the most from your investment. Understanding basic electrical principles enables you to make informed decisions and identify potential problems early.
Why Proper Solar Connections Matter
Your photovoltaic cabling links modules to your home’s electrical infrastructure. The power your modules generate flows through this network to run your lights, appliances, and electronics. Poor connections lead to energy loss, equipment failures, and fire hazards.
Quality installation also protects your warranty coverage. Most manufacturers void warranties if installations don’t meet electrical code standards. Professional-grade work ensures reliable performance for decades.
Understanding Solar Configuration Options
Series Connections
Series links join modules end to end. The positive terminal of one unit connects to the negative terminal of the next. This setup increases voltage while keeping current constant.
Benefits: Higher voltage reduces power loss over long cable runs. Fewer connection points mean less potential for failure.
Drawbacks: Shading or damage to one module affects the entire string’s output. Performance drops on cloudy days when units receive uneven light.
Parallel Connections
Parallel links join all positive terminals together and all negative terminals together. Voltage stays constant while current increases.
Benefits: Individual module issues don’t impact the whole array, and better performance when shading affects different units at different times.
Drawbacks: More connections create additional failure points. Lower voltage can increase power loss over distance.
Hybrid Approach
Most residential setups combine both methods. Modules connect in series to form strings, then multiple strings connect in parallel. This balances the advantages of each configuration to achieve optimal performance in Norman’s variable weather conditions.
Choosing the Right Components
Wire Gauge Selection
Wire gauge determines how much current flows safely through your cables. Thicker conductors (lower gauge numbers) carry more power with less resistance.
Most home solar setups use 10 AWG or 12 AWG conductors for module connections. Larger installations may require 8 AWG. The right choice depends on output and cable length.
Using undersized conductors creates heat buildup and voltage drops. Your modules generate less usable power, and fire risk increases. Always follow National Electrical Code requirements and manufacturer specifications.
Proper Conductor Types
PV Wire: Explicitly designed for photovoltaic applications with UV-resistant insulation and moisture protection. Temperature ratings handle Norman’s hot summers and cold winters perfectly, from -40°F to 194°F for outdoor exposure.
USE-2 Wire: Required for underground cable runs between your array and electrical panel. Protects against moisture and soil contact.
THHN/THWN Wire: Works well inside conduit for protected runs but lacks UV resistance for exposed outdoor sections.
Essential Safety Practices and Common Mistakes
Always Disconnect Before Working
Modules generate electricity whenever light hits them, even on overcast days. Disconnect power at the combiner box or inverter before touching any connections. Test circuits with a multimeter rather than assuming they’re dead. This protects you from dangerous shocks.
Proper Grounding Requirements
Every metal component needs grounding connections to protect against electrical shock and lightning damage. This matters especially in Norman, OK, where spring and summer storms bring frequent lightning: ground all frames, mounting racks, junction boxes, and inverter housings.
Secure All Connections and Protect Cables
Loose connections create resistance, generating heat and wasting energy. Use MC4 connectors for module-to-module links. These industry-standard connectors lock together securely and resist weather damage.
Route cables away from sharp edges and high-traffic areas. Use conduit for exposed runs, especially where cabling crosses roofs or exterior walls. Secure cables every few feet to prevent wind damage. Allow for some slack to accommodate thermal expansion, but prevent excessive sagging.
Avoid Mixing Specifications
Never combine different gauges or types within the same circuit. Mismatched components create weak points where resistance builds and problems develop.
Ensure Weatherproof Protection
Every outdoor connection needs weatherproof protection. Water causes corrosion, shorts, and equipment failure. Use weatherproof junction boxes and seal all conduit entries with appropriate fittings. Norman’s occasional ice storms and heavy spring rains make this especially important.
Follow Code Requirements
The National Electrical Code sets minimum standards for solar installations. Recent updates require rapid shutdown capability and arc fault protection for residential setups. All components need proper labels identifying voltages and hazards.
Understanding Key Components
Inverters
The inverter converts DC electricity from your modules into AC electricity that your home uses. String inverters handle multiple units at once, while microinverters attach to individual modules. Your cabling approach depends on which inverter type you choose.
Combiner Boxes
Combiner boxes bring together cables from multiple modules before sending power to the inverter. They include fuses or circuit breakers that protect against electrical overloads.
Disconnect Switches
Disconnect switches allow you to shut off power from your solar array safely. Code requirements mandate clearly labeled disconnects that emergency responders can access easily.
When Professional Installation Makes Sense
Design and Technical Expertise
Licensed electricians calculate exact voltage, current, and conductor requirements for your specific situation. They account for module placement, shading patterns, roof layout, and local regulations in Norman, OK.
Permits and Inspections
Solar installations require building permits and electrical inspections. Professionals understand local requirements and ensure your setup passes inspection without delays. They handle all paperwork and coordinate with city officials.
Warranty and Safety Protection
DIY installation typically voids equipment warranties. Professional work protects your investment and guarantees warranty coverage if issues arise. Licensed installers also carry proper insurance for working safely at heights with high-voltage DC equipment.
Year-Round Maintenance Guide
Regular Visual Inspections
Examine visible cabling every season for damage, corrosion, or loose connections. Look for discolored insulation, melted coverings, or burn marks near junction points. Check after Norman’s severe weather events, especially spring storms and summer heat waves.
Watch for warning signs, such as buzzing sounds from boxes, hot spots on cables, or reduced energy output. These indicate problems needing immediate attention.
Spring Checks
Inspect all connections after winter weather. Temperature swings can loosen fittings. Look for any water damage or corrosion that developed during wet months. Clean modules to remove pollen and dust that accumulated over winter.
Summer Monitoring
Hot weather increases resistance in electrical connections. Track daily energy production through your monitoring interface. Sudden output drops might signal issues even when everything looks normal visually. Norman’s intense summer heat makes this monitoring especially important.
Fall Preparation
Check all outdoor connections before winter storms arrive. Ensure weatherproof seals remain intact and drainage paths stay clear. Trim trees and bushes away from cable runs before leaves fall. Branches can damage insulation or pull connections during ice storms.
Winter Inspections
Snow and ice can stress mounting hardware and cabling. Verify that weight loads haven’t pulled on connections or damaged conduit runs. Keep accessible connection points clear of ice buildup.
Connection Maintenance
Dirt and corrosion increase resistance at connection points. Clean and inspect accessible connectors during routine maintenance, and verify that they remain tight. Keep vegetation trimmed back year-round, as overgrowth creates shading that reduces performance.
Optimizing Your Installation
Minimize Cable Runs
Shorter distances reduce voltage drop and energy loss. Position your combiner box and inverter to keep runs between components as brief as possible. This improves efficiency and reduces material costs.
Plan for Future Expansion
Design your electrical infrastructure with future growth in mind, in case you might add modules later. Oversized conduit and extra combiner box capacity make upgrades easier and more affordable down the road.
Match Shading Patterns
Group modules receive similar sun exposure when possible. This improves efficiency, especially in series configurations where shading one module affects the whole string. Consider Norman’s mature tree canopies when planning placement.
Understanding Voltage and Current
DC vs AC Power
Solar modules produce DC (direct current) electricity. Your home uses AC (alternating current) electricity. The inverter handles this conversion, but all cabling before the inverter must be rated for DC applications.
Voltage Considerations
Higher voltage setups require fewer amps for the same power output. This means you can use smaller conductor gauges. However, higher voltages also require greater safety precautions and more robust insulation.
Current Ratings
Every conductor and connector has a maximum current rating. Exceeding this rating causes overheating and potential fire hazards. Always size components for at least 125% of your maximum expected current to provide a safety margin.
Protect Your Investment
Quality electrical work transforms your modules into a reliable, efficient energy source. Understanding these basics helps you ask the right questions and recognize professional craftsmanship when you see it.
Your solar array represents a significant investment in your home and future energy independence. The difference between decades of trouble-free service and constant repairs comes down to proper installation from the start.
Ready to install solar panels in Norman, OK? Contact Tri-L Electric today. Our licensed electricians specialize in photovoltaic installation, ensuring your setup is safe, efficient, and built to last.